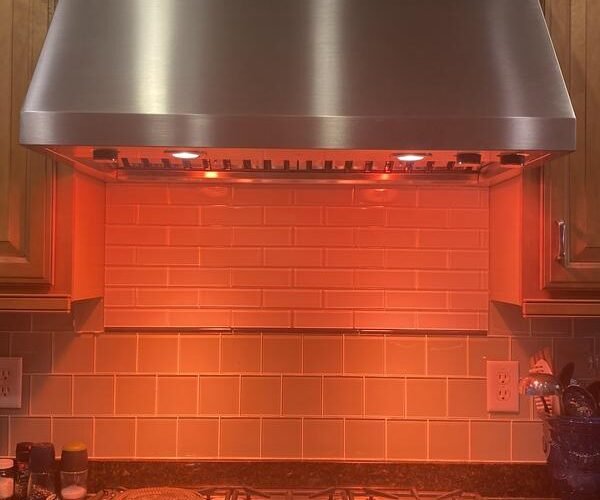
JennAir perimeter ventilation hoods use suction around the edges rather than from the center. Learn the installation requirements and key considerations.
What Is Perimeter Ventilation?
JennAir perimeter ventilation hoods capture cooking fumes using suction channels along the outer edges of the hood rather than pulling air from a central point above the cooktop. This design allows the hood to sit lower to the ceiling (or flush mount), providing better capture efficiency at lower fan speeds and quieter operation. It also creates a cleaner visual appearance since the underside of the hood is a flat panel rather than exposed filters and fan openings.
Pre-Installation Requirements
- Ductwork — plan the duct route before installation. JennAir perimeter hoods require specific duct sizes (usually 6-inch or 8-inch round, or equivalent rectangular). The duct exit can go through the wall behind the hood, through the ceiling, or up through an attic. Shorter, straighter runs provide the best performance.
- Electrical — a dedicated 120V, 15-amp circuit is required. The junction box should be positioned inside the wall cavity behind the hood’s mounting location.
- Mounting height — JennAir specifies the minimum distance between the cooktop surface and the bottom of the hood. For gas cooktops, this is typically 30 inches. For electric or induction, it is typically 24 inches. Exceeding the recommended maximum height reduces capture efficiency.
- Wall structure — the mounting wall must have adequate blocking or studs to support the weight of the hood, which can be 40 to 80 pounds depending on the model.
Installation Overview
- Mount the hanging bracket — secure the supplied mounting bracket to the wall studs at the correct height. Use a level to ensure it is perfectly horizontal. All mounting points must be into studs or structural blocking — toggle bolts alone are not sufficient for the weight.
- Prepare the duct opening — cut the duct hole in the wall or ceiling per the template provided with the hood. Connect the duct transition piece.
- Wire the electrical connection — run the electrical cable from the junction box through the wall and into the hood’s wiring compartment. Connect per the wiring diagram (typically black to black, white to white, green to ground).
- Hang the hood — with a helper, lift the hood and hook it onto the mounting bracket. The hood should hang securely from the bracket while you make final adjustments.
- Connect the ductwork — attach the hood’s exhaust port to the duct transition using foil tape and/or a clamp. Do not use standard cloth duct tape — it degrades over time in grease-laden environments.
- Secure the hood — tighten all mounting screws. The hood should be flush against the wall with no gaps. Adjust leveling if needed.
- Install the filters — slide the grease filters (and charcoal filters if recirculating) into their designated positions.
Testing the Installation
- Restore power at the breaker.
- Turn on the hood and test all fan speeds. Verify that airflow increases with each speed setting.
- Hold a piece of tissue paper near the edge of the hood — it should be drawn toward the perimeter intake.
- Go outside and verify that air is exiting the exterior vent termination. Confirm the backdraft damper opens when the fan is running and closes when it is off.
- Test the lighting at all brightness levels.