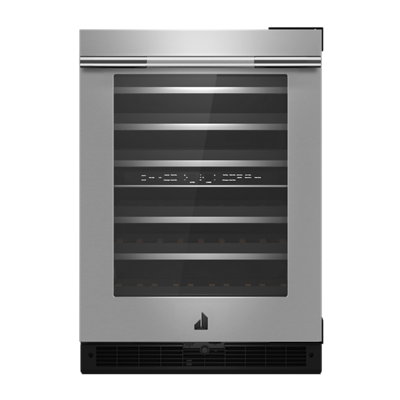
Proper initial setup of a JennAir undercounter ice maker ensures reliable ice production from day one. Follow these steps for water connection, leveling, and first batch.
Before Installation
JennAir undercounter ice makers require three connections: a water supply line, a drain line, and a standard 120V electrical outlet. Before you begin, confirm that all three are available at the installation location and meet the specifications in the installation guide for your model. The water supply should have a dedicated shut-off valve with a minimum pressure of 20 psi and a maximum of 120 psi.
Step 1: Position and Level the Unit
- Slide the ice maker into its undercounter opening, leaving enough room to access the water and drain connections at the back.
- Place a bubble level on top of the unit. Adjust the leveling legs at the front bottom corners until the unit is level side-to-side and slightly tilted back (about one-eighth inch) to help water drain to the rear.
- Ensure the unit does not contact the surrounding cabinetry — leave clearance per the installation specifications for ventilation.
Step 2: Connect the Water Supply
- Turn off the water supply valve.
- Connect the water supply line to the inlet valve on the back of the ice maker. Use a braided stainless steel supply line — not a plastic or copper tube, which can kink or corrode.
- Hand-tighten the fitting, then give it a quarter turn with pliers. Do not overtighten.
- Turn on the water supply valve and check for leaks at the connection. Tighten slightly if needed.
Step 3: Connect the Drain
JennAir undercounter ice makers use a gravity drain or pump drain depending on the model:
- Gravity drain — the drain line must run downhill from the ice maker to the drain point (floor drain, standpipe, or utility sink). Ensure there are no low points where water can pool.
- Pump drain — models with a drain pump can push water up and out to a drain that is higher than the unit. Connect the drain hose to the pump outlet and route it to the drain point.
Step 4: Power On and First Batch
- Plug the unit into a grounded 120V outlet or restore power at the breaker.
- Turn the ice maker on using the control panel or power switch.
- The unit will begin filling with water and start the first freeze cycle. The first batch of ice typically takes 15 to 30 minutes depending on the model and ambient temperature.
- Discard the first three batches of ice. The initial batches flush impurities from the water line and the internal water system. The ice may taste off or contain small particles.
- After discarding the initial batches, the ice maker will continue to produce and store ice automatically until the bin is full.
Expected Ice Production
JennAir undercounter ice makers typically produce 50 to 80 pounds of ice per day under optimal conditions (70-degree room temperature, 50-degree water supply temperature). Production decreases in warmer environments or with warmer water. The storage bin holds approximately 25 to 35 pounds, and the unit will stop producing when the bin sensor detects it is full.