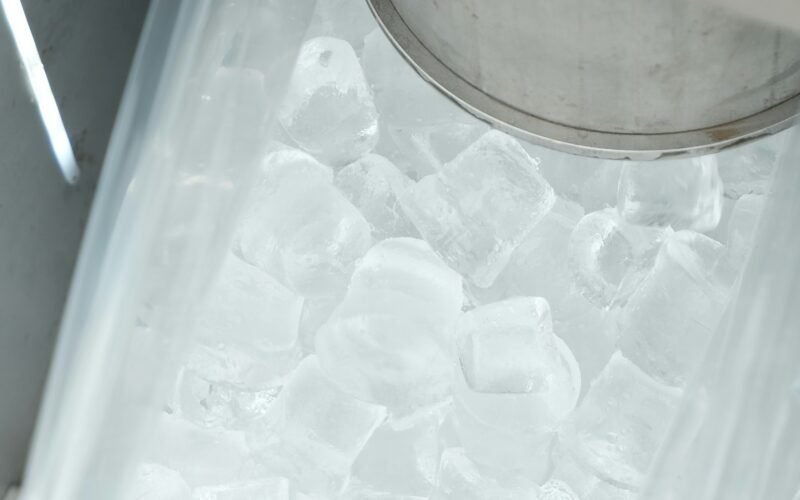
If your JennAir column refrigerator ice maker has stopped producing ice entirely, replacement may be necessary. This guide walks through diagnosis and the replacement process.
Symptoms That Indicate Ice Maker Replacement
Before replacing the ice maker module in your JennAir column refrigerator, confirm that simpler fixes have been ruled out. The ice maker likely needs replacement if:
- The freezer is at the correct temperature (0 degrees Fahrenheit) but no ice is being produced
- The water supply line is connected and has adequate pressure (at least 20 psi)
- The water inlet valve clicks when the ice maker calls for water, but the ice maker motor does not cycle
- You hear no humming or mechanical noise from the ice maker during a fill or harvest cycle
- Pressing the test button on the ice maker produces no response
Tools and Parts Needed
- Replacement ice maker assembly matched to your JennAir model number
- Quarter-inch nut driver
- Phillips head screwdriver
- Small flat-blade screwdriver for wire harness clips
- Towel to catch residual water
Step-by-Step Replacement
- Turn off the ice maker using the switch or control panel setting, then unplug the refrigerator or turn off the circuit breaker.
- Remove the ice bin by sliding it forward and lifting it out.
- Locate the mounting screws holding the ice maker to the freezer wall — typically two or three screws along the top mounting bracket.
- Remove the mounting screws with the quarter-inch nut driver.
- Gently pull the ice maker away from the wall. The wire harness connector is located behind or beneath the unit.
- Disconnect the wire harness by pressing the locking tab and pulling the connector apart. Place a towel beneath the water fill tube to catch drips.
- Disconnect the water fill tube if it is attached directly to the old ice maker module.
- Position the new ice maker assembly and reconnect the water fill tube and wire harness. Ensure the harness connector clicks firmly into place.
- Align the mounting bracket holes and reinstall the mounting screws. Do not overtighten.
- Reinstall the ice bin, restore power, and turn the ice maker on.
After Installation
The first batch of ice may take 6 to 12 hours to produce. Discard the first two batches as they may contain impurities from the water line. If the new ice maker does not begin cycling within 24 hours, verify the wire harness connection and water supply. If the problem persists, the water inlet valve or main control board may be at fault and a technician should be consulted.
Why Professional Service May Be the Right Choice
While many Refrigerator issues can be addressed with the steps in this guide, there are situations where attempting a DIY repair can make the problem worse or void your warranty. If you've followed the steps above and the issue persists, or if you're not comfortable working with electrical components or water connections, calling a factory-trained technician is the safest and most cost-effective path forward.
JennAir Support Center technicians are trained directly to JennAir's service specifications. They arrive with the most common OEM replacement parts already on the vehicle, which means most repairs are completed in a single visit.
Preventing the Problem from Recurring
Most Refrigerator issues that require repair are preventable with regular maintenance. Key habits that extend appliance life and reduce fault frequency:
- Clean filters regularly. Lint filters, drain pump filters, and water inlet screens accumulate debris over time. A clogged filter is one of the most common causes of performance issues and error codes.
- Don't overload. Consistently running your Refrigerator beyond its rated capacity puts extra stress on the motor, drum bearings, and suspension components.
- Use the correct detergent and amounts. Excess detergent causes buildup, mold, and sensor errors over time.
- Check hoses and connections annually. Inspect inlet and drain hoses for cracks, kinks, or loose connections at least once a year.
- Level the appliance. An unlevel Refrigerator vibrates excessively during operation, accelerating wear on internal components.
JennAir Warranty and Service Coverage
JennAir offers warranty coverage on most appliances. If your appliance is still within its manufacturer warranty period, contact JennAir directly before scheduling an independent repair, as unauthorized service may affect warranty coverage.
For appliances outside the warranty period, JennAir Support Center provides a 30 day parts and labor warranty on every repair we complete. All replacement parts are genuine JennAir OEM components.