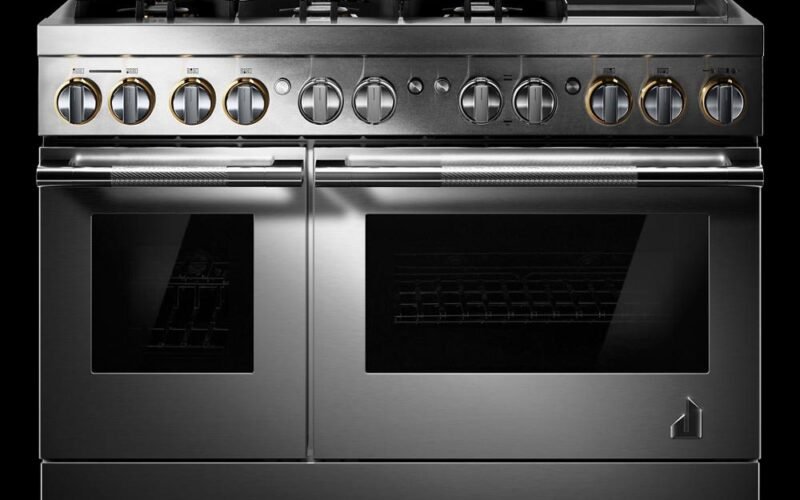
A worn or damaged door gasket on your JennAir range allows heat to escape, causing uneven cooking and excessive energy use. Here is how to replace it.
Signs of a Failing Oven Door Gasket
The oven door gasket on a JennAir range is a braided or woven fiberglass rope that lines the perimeter of the oven opening. It creates an airtight seal when the door is closed. Signs that the gasket needs replacement include:
- Heat escaping from around the door edges — you can feel hot air on your hand when holding it near the door seam
- The oven takes noticeably longer to preheat or cannot maintain set temperature
- The gasket is visibly frayed, torn, hardened, or compressed flat
- Gaps are visible between the gasket and the oven frame
- The self-clean cycle fails to lock the door properly because the gasket no longer compresses evenly
Ordering the Right Part
JennAir oven door gaskets are model-specific. Locate your model number on the identification plate — on most JennAir ranges, this is behind the broiler drawer or on the door frame visible when the door is open. Order directly from JennAir parts or an authorized parts distributor using the full model number.
Replacement Procedure
- Allow the oven to cool completely. Do not attempt this with a warm oven.
- Open the oven door fully.
- Starting at any corner, gently pull the old gasket away from the oven frame. On most JennAir ranges, the gasket hooks into a channel or clips along the frame — it is not glued. Work slowly to avoid bending the retaining clips.
- Once the old gasket is removed, inspect the channel for food residue or grease. Clean it with warm soapy water and a small brush. Dry completely.
- Unpack the new gasket and let it sit at room temperature for 15 to 20 minutes if it has been tightly coiled in packaging. This makes it more pliable.
- Starting at the center bottom of the oven opening, press the new gasket into the retaining channel. Work outward in both directions toward the top corners.
- Make sure the gasket sits evenly in the channel without bunching, twisting, or stretching. At the corners, fold the gasket neatly rather than cutting it.
- When you reach the starting point, trim any excess if necessary and butt the ends together — do not overlap them.
- Close the door and check that it seals evenly all the way around. Open and close it several times to confirm the gasket seats properly.
After Replacement
Run the oven at 350 degrees for 20 minutes and check for heat escaping around the door. The new gasket may produce a slight odor during its first heating cycle — this is normal and will dissipate. If you notice uneven contact or gaps after the test run, open the door and reposition the gasket in the affected area.