Proper installation and leveling of a JennAir cooktop ensures safe operation and prevents cookware from sliding. This guide covers key installation considerations.
Pre-Installation Requirements
Before installing a JennAir cooktop — whether gas, induction, or electric radiant — verify the following:
- Countertop cutout dimensions — measure and compare against the specifications in the installation guide for your specific model. JennAir cooktops come in 30-inch and 36-inch widths, each with specific cutout requirements.
- For gas models: a properly sized gas supply line with a shut-off valve accessible after installation. The gas line must be rated for the total BTU output of all burners combined.
- For induction models: a dedicated 40-amp or 50-amp electrical circuit (depending on the model) with the correct voltage (240V in the US). The junction box must be accessible after installation.
- Countertop material and thickness — JennAir cooktops are designed for countertops that are at least 3/4 inch thick. Granite, quartz, and solid surface materials are all compatible. Very thin countertops may need reinforcement brackets.
- Ventilation — ensure adequate ventilation is planned, whether from an overhead hood or a JennAir downdraft ventilation system.
Installing the Cooktop
- Turn off the gas supply (for gas models) and the electrical circuit at the breaker.
- If replacing an existing cooktop, disconnect and remove the old unit first.
- Place the mounting brackets or spring clips (included with the cooktop) into the designated slots on the underside of the cooktop frame.
- Carefully lower the cooktop into the countertop cutout. Have a helper support the unit from below if the cabinet is accessible from underneath.
- Center the cooktop in the opening. The decorative trim should overlap the countertop edge evenly on all four sides.
- From below, tighten the mounting brackets so they clamp against the underside of the countertop. Tighten evenly on all sides — do not overtighten, as this can crack stone countertops.
Leveling the Cooktop
- Place a bubble level on the cooktop surface, running left to right.
- Rotate the level 90 degrees to check front to back.
- If the cooktop is not level, the issue is usually the countertop itself rather than the cooktop. Shims can be placed between the mounting brackets and the countertop to correct minor unevenness.
- On gas models, fill a wide, flat pan with a small amount of water and place it on a burner grate. The water should settle evenly. If it pools to one side, adjust the shimming.
Final Connections
- Gas: connect the gas supply line using an approved flexible connector. Apply thread sealant to the fitting. Turn on the gas and check all connections with a soapy water solution — bubbles indicate a leak that must be corrected before use.
- Electric/Induction: connect the wiring to the junction box per the wiring diagram in the installation guide. Secure all connections with wire nuts and confirm correct wire-to-terminal matching (L1, L2, Neutral, Ground).
Testing After Installation
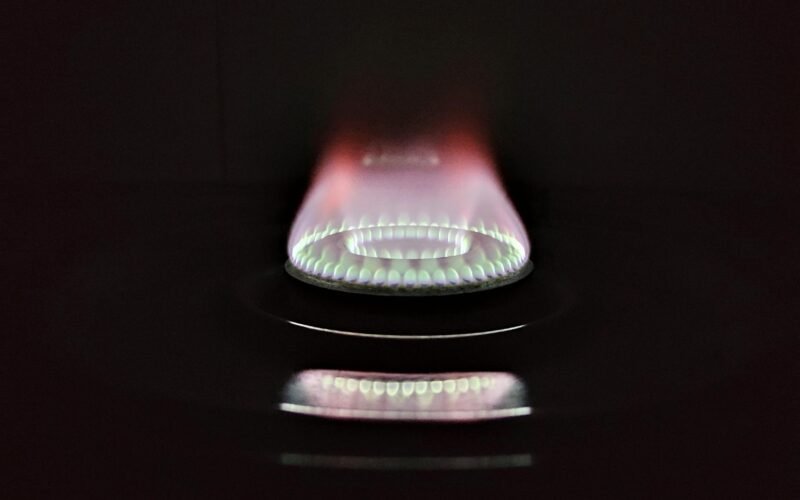
Restore power and gas supply. Test each cooking zone or burner individually. For gas cooktops, verify ignition, flame color (should be blue), and that all burners extinguish cleanly when turned off. For induction cooktops, place a compatible pan on each zone and confirm the display recognizes the cookware and heats properly.