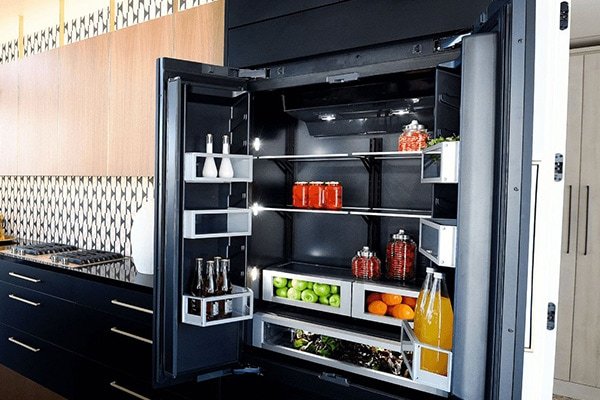
JennAir freezer columns with built-in ice makers use a water filter that needs regular replacement. Learn where to find it, how to change it, and how often.
Why the Water Filter Matters
The water filter in a JennAir freezer column with a built-in ice maker removes chlorine, sediment, and other impurities from the water supply before it reaches the ice maker. A clean filter produces clear, good-tasting ice. A clogged or expired filter can cause cloudy ice, off flavors, reduced ice production (because water flow is restricted), and even smaller-than-normal ice cubes.
Filter Location
On most JennAir freezer columns, the water filter is located in one of two places:
- Inside the freezer compartment — typically in the upper right corner or ceiling area. The filter housing is usually a twist-lock cap that is visible without removing any panels.
- In the base grille area — some models position the filter behind the toe-kick grille at the bottom of the unit. Remove the grille to access it.
Consult your owner’s manual or the JennAir parts website with your model number to confirm the filter location and the correct replacement filter part number.
Replacement Schedule
JennAir recommends replacing the water filter every six months. Some models have a filter status indicator on the control panel that changes color or displays a reminder when replacement is due. Factors that may require more frequent replacement:
- Heavily sediment-laden water supply
- Well water (rather than municipal water)
- High ice consumption — more water through the filter means it reaches capacity sooner
Step-by-Step Replacement — Interior Filter
- Locate the filter housing inside the freezer — it is typically a round cap that protrudes slightly from the ceiling or wall.
- Turn the filter cap counterclockwise (about a quarter turn) until it releases.
- Pull the old filter straight down and out. Some water may drip — have a towel ready.
- Remove the cap from the old filter and transfer it to the new filter (if the cap is reusable — some models have the cap integrated into the filter cartridge).
- Insert the new filter into the housing. Push up and turn clockwise until it locks into place.
- Run the ice maker through two to three cycles and discard the ice — the first batches flush carbon fines from the new filter.
Step-by-Step Replacement — Base Grille Filter
- Remove the toe-kick grille by pulling it forward (it usually unsnaps or has two screws).
- Locate the filter housing — a cylindrical cartridge positioned horizontally.
- Turn the old filter counterclockwise and pull it straight out.
- Insert the new filter and turn clockwise until it locks.
- Replace the toe-kick grille.
- Discard the first two to three batches of ice.
Resetting the Filter Indicator
After installing the new filter, reset the filter status indicator on the control panel. On most JennAir freezer columns, press and hold the “Filter” or “Water Filter” button for three seconds until the indicator resets. On models with an LCD screen, navigate to Settings and select “Reset Filter.” The indicator will return to its normal state.
Using the Correct Filter
Always use a genuine JennAir or EveryDrop replacement filter matched to your model number. Aftermarket filters may not fit correctly, can cause leaks, and may not meet the same contaminant reduction standards. Using an incorrect filter can also void the warranty on the ice maker system.