
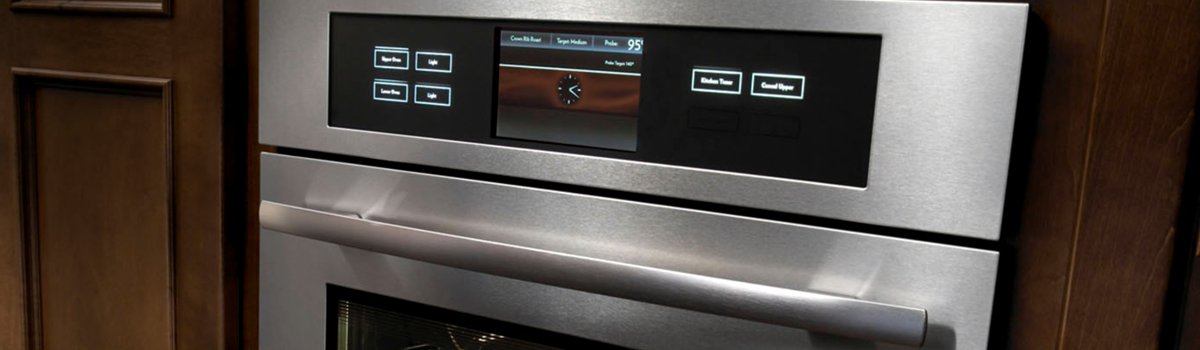
When a JennAir oven or stove throws Error Code F2, it’s warning that the oven temperature is running too hot compared to what the control expects. In most cases, F2 points to a temperature sensing problem (oven sensor / RTD) or a control/relay issue that’s letting the elements overheat. The good news: you can do a few quick checks at home to confirm what’s going on and sometimes clear the fault without a service call.
What “F2” Actually Means
Modern ovens constantly compare the set temperature to what a temperature sensor reports from inside the cavity. If the control sees temps that climb beyond a safe window (or don’t respond the way they should), it flags F2 to protect the oven and prevent food from burning. Think of it as the oven saying, “I’m hotter than I should be for this setting.”
Typical signs you’ll notice:
- Preheat shoots past the target temp, or broil seems unusually aggressive
- Cooking results are scorched on top or finished way too fast
- Fan runs long, the control beeps, and the oven shuts down with F2
Why F2 Happens (Most Common Causes)
Sometimes it’s simple—sometimes it’s a part that’s drifting out of spec.
- Aging or failed oven temperature sensor (RTD): The little probe inside the oven wall sends incorrect readings, making the control believe it needs less or more heat than reality.
- Stuck or shorted relay on the control board: A “welded” relay can keep power flowing to the bake or broil element even when the control tries to stop heating.
- Poor airflow or cooling: Blocked vents or a non-running cooling fan (on models that have one) let heat pool near the controls.
- Door gasket leaks / heat loss: Escaping heat can trigger runaway cycles as the board over-corrects.
- Wiring/connector issues: Loose, corroded, or heat-damaged connectors between the sensor and the control distort temperature readings.
- After a self-clean: Residual heat or marginal components sometimes fail right after a high-heat clean cycle.
Quick DIY Checks (Safe, Simple Things First)
Unplug the range or switch off the breaker before any hands-on work.
- Power reset
Turn power off for 5–10 minutes, then back on. If F2 was a one-off glitch, it may clear and stay cleared. - Check the door seal
Run your fingers around the gasket. If it’s torn, flat, or missing chunks, the oven can overrun to compensate. Clean the gasket channel and close the door—look for even contact. - Look for obvious heat damage
With power off, peek behind the back panel (only if you’re comfortable): any scorched wiring, a bubbled control board, or brown/discolored connectors near the bake/broil relays are red flags. - Ventilation & racks
Make sure the rear vent inside the oven isn’t blocked by foil or oversized pans. Don’t cover the oven floor with foil; it traps heat and fools the sensor.
If F2 returns immediately after a reset, stop using the oven until it’s diagnosed—continued operation can damage the control.
Slightly Deeper Check (For Handy Users)
Test the oven temperature sensor (RTD).
If you’re comfortable with a multimeter:
- Kill power. Access the sensor harness from the rear or pull the sensor into the cavity and disconnect.
- Measure resistance at room temperature. Most common sensors read about 1.0–1.1 kΩ at ~70–77°F and increase smoothly as temperature rises.
- Readings far off spec (or that jump around when you gently wiggle the lead) mean the sensor or its wiring is bad. Replace the sensor using the correct part for your model.
If the sensor checks out, the next suspect is the control board/relay or shorted element that’s heating when it shouldn’t.
Fixes that Typically Resolve F2
Text overview:
If the sensor is drifting, replace the RTD sensor. If the relay is stuck or the control logic is failing, replace the control board. Any heat-damaged wiring or connectors should be repaired with high-temp terminals. Finally, verify cooling fan operation (if equipped) and restore clean airflow around vents.
Short list to recap:
- Replace oven temperature sensor if resistance is out of spec
- Repair/replace damaged harness or connectors
- Replace control board if relays are stuck or outputs are incorrect
- Confirm cooling fan runs and vents are clear
- Replace door gasket if leaking heat
Prevent F2 (Keep Heat Under Control)
A little care goes a long way toward stable, accurate baking.
- Don’t block vents with foil liners or oversized trays; allow air to circulate.
- Clean gently: Skip harsh chemicals on the sensor or elements; residue can bake on and skew readings.
- Use self-clean sparingly: It’s safe when used properly, but it’s the hottest cycle the oven ever sees. If the oven is older or has had intermittent issues, consider a manual clean.
- Check the gasket annually and replace at the first sign of tears or flattening.
- Light loads during preheat: Don’t cram multiple heavy pans in from the cold—let the oven reach temp cleanly.
Quick Action Plan (Skimmable)
- Power reset (5–10 min off) → retry.
- Inspect gasket, vents, and obvious wiring.
- Meter sensor resistance (handy users).
- If F2 returns or sensor is OK → control/relay diagnosis.
- Fix the root cause, then verify stable preheat and accurate temps.
Need a zero-guesswork fix? Our factory-certified oven specialists can test the sensor, elements, and control on the first visit and install OEM parts if needed.