
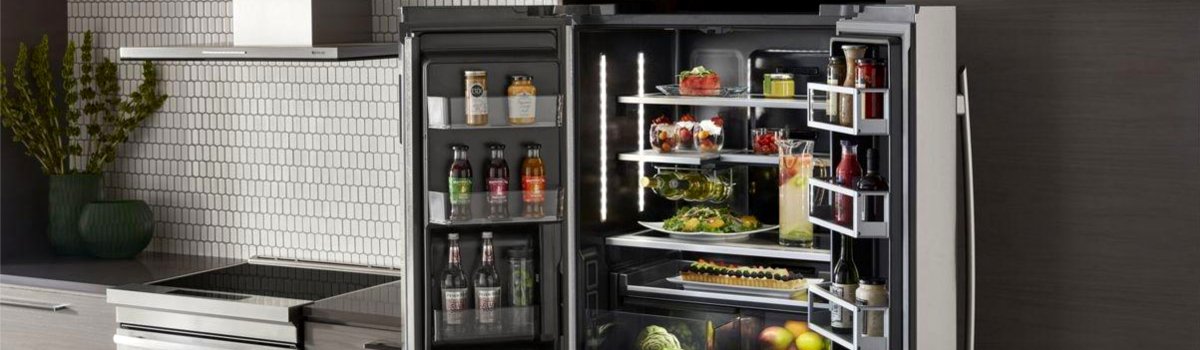
When your Jenn-Air throws Error Code IS, it’s pointing to the ice-making sensor—the part that helps the fridge “know” when conditions are right to produce ice or when the bin is full. If that sensor can’t read correctly (or can’t communicate), ice production slows down, stops entirely, or the unit behaves erratically.
Quick take: what “IS” usually means
IS = Ice-making sensor fault.
In plain English: the refrigerator isn’t getting a good signal from a sensor tied to the ice system. Depending on model, this could be an ice-bin level sensor (optics), an ice maker thermistor (temperature sensor), or a wiring/connection issue that makes a good sensor look “bad.”
Typical symptoms
- No ice production or very slow ice output
- Ice maker stuck mid-cycle, or cycles randomly
- “Bin full” message when the bin is clearly not full
- Intermittent IS code that returns after a reset
Why this fault happens (common causes)
- Dirty/blocked optics near the ice bin (fingerprints, frost film, food dust)
- Loose or corroded connectors between the ice maker and the control board
- Failed thermistor on the ice maker (misreads temperature)
- Harness damage from vibration or from removing the ice bin/door repeatedly
- Freezer temperature out of range (too warm for proper harvest)
- Control/board issue (less common, but possible)
Before you start (safe prep)
Unplug the refrigerator or switch off the breaker. If you need power on for a test, keep fingers and tools clear of moving parts and live contacts. Work patiently—small, careful checks solve most IS cases without replacing parts.
Fast checks you can do in 10–15 minutes
1) Reboot the controls
- Unplug for 5–10 minutes, then restore power.
- Watch the display: if IS returns immediately, continue below.
2) Confirm freezer temperature
- Set the freezer to 0°F (-18°C) and give it a few hours to stabilize.
- Overpacked shelves or blocked vents will trap heat—rearrange for airflow.
3) Clean the ice-bin optics
- If your model uses an emitter/receiver pair (small “windows” on the sides), wipe both lenses with a soft, lint-free cloth.
- Light frost or smudges can confuse the sensor into thinking the bin is full.
4) Reseat the connectors
- Remove the ice bin. Gently check the ice maker harness plug and any inline connectors you can access.
- Look for loose fit, bent pins, moisture, or a white/green powder (corrosion). Reseat firmly.
5) Inspect the ice maker thermistor (if accessible)
- Many Jenn-Air ice makers have a small temperature sensor clipped to the mold or housing.
- Make sure it’s firmly clipped and not dangling; a loose sensor reads the wrong temp and stalls harvest.
If the IS code clears after these steps and ice production resumes within a few hours, you likely had a simple connection/optics/airflow issue.
Hands-on DIY: step-by-step (when the code persists)
Step 1: Rule out water supply issues
Even though IS is sensor-related, low water pressure or a partly closed valve can make the system appear “faulty.”
- Verify the shutoff valve is fully open.
- Replace an overdue water filter (typically every 6 months).
- Check for kinks in the water line.
Step 2: De-ice and dry the area
- If you see frost around the sensor windows or the ice maker housing, power down and let the freezer warm for 20–30 minutes with the door open, then power back up.
- Refreezing moisture can re-trigger IS; make sure gaskets close cleanly.
Step 3: Deep clean the optics
- Use isopropyl alcohol (70%) on a microfiber cloth to gently clean the emitter/receiver windows.
- Avoid sprays directly on the components—apply to the cloth, then wipe.
Step 4: Check harness continuity (optional for DIYers with a meter)
- With power OFF, gently tug the harness along its run to ensure it’s seated and not nicked.
- If you’re comfortable with a multimeter, verify that the harness isn’t open from the ice maker plug back to the frame connector (consult your model’s pinout if available).
Step 5: Replace the suspect part
If IS keeps returning:
- Optics/bin sensor models: replace the emitter/receiver kit.
- Thermistor-style models: replace the ice maker thermistor or the ice maker assembly (many are serviced as a complete module).
- When in doubt, replacing the entire ice maker assembly is a clean fix and often cost-effective compared to piecemeal parts.
Preventive maintenance (keep IS from coming back)
Keep sensors clean and dry
- Wipe optics windows when you clean the freezer (no harsh chemicals).
- Don’t slam the bin—vibration loosens connectors over time.
Protect airflow
- Don’t overpack the freezer; leave space around the ice maker so air can flow.
- Defrost small frost build-ups promptly—frost scatters light and confuses optics.
Filter & water care
- Change the water filter on schedule. Low flow can make cycles stall and trigger faults.
- Inspect the water line annually for kinks or rub points.
General refrigerator care
- Vacuum the condenser coils every 6–12 months to keep temps stable.
- Confirm door gaskets seal all the way around (paper-slip test).
FAQ (quick answers you’ll actually use)
Can I keep using the fridge with IS showing?
You can, but the ice maker may stop or overflow unpredictably. Clear the fault quickly to avoid nuisance leaks or motor strain.
How long should ice production take after a fix?
Give it 6–12 hours for first cubes, 24 hours for full-rate production. Warmer kitchens take longer.
Will a hard reset erase the code forever?
A reset clears temporary faults. If IS returns, you likely have a persistent sensor/connection issue that needs cleaning, reseating, or replacement.