
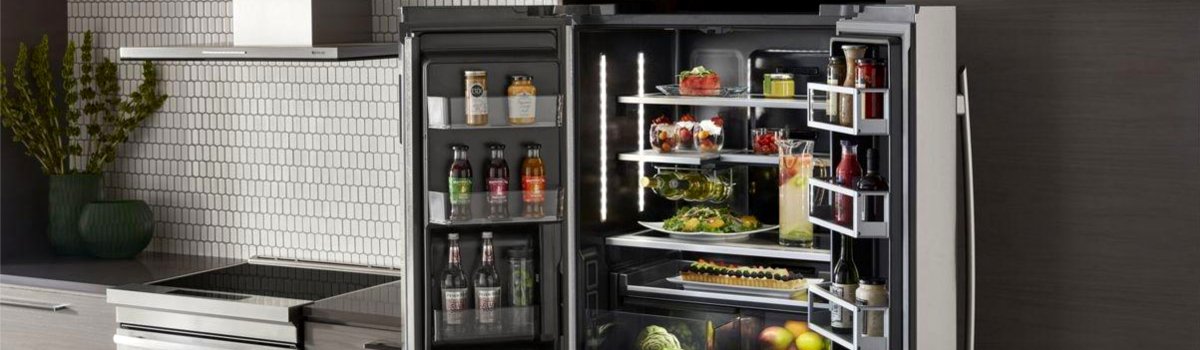
When your Jenn-Air refrigerator flashes HS, it’s flagging a problem with the humidity sensor inside the fresh-food compartment. That sensor helps the control board manage moisture and airflow so produce stays crisp, doors don’t sweat, and temperatures remain stable. If the sensor’s reading goes out of range—because it’s wet, dirty, disconnected, or failed—the fridge can’t regulate humidity correctly, and performance suffers.
What “HS” Actually Means (in plain English)
The humidity sensor tells the control how muggy the compartment is. With bad data, the fridge may:
- Run the compressor and fans longer than usual, yet cool unevenly
- Show condensation on shelves, walls, or door gaskets
- Leave leafy produce limp while other items frost up
- Cycle defrost oddly or make the sides of the cabinet feel warmer than normal
You can usually keep food cold for a short time while you troubleshoot, but fix HS promptly—running with false readings strains the system and can waste energy.
Quick Safety Note
Unplug the refrigerator (or switch off the breaker) before removing any panels or touching internal wiring. If you’re not comfortable working around live circuits or sharp sheet metal, skip straight to a pro.
Fast Checks Before You Grab Tools
Start with the low-effort wins. These clear many HS alerts without parts:
- Power reset (5–10 minutes).
Unplug the unit, wait, then plug back in. This clears minor software glitches and lets the sensor “re-announce” itself. - Let steam dissipate.
If the doors were open during cooking or you loaded hot food, moisture can soak the sensor. Close the doors for 30–60 minutes and avoid repeated opening to let humidity normalize. - Door seals & airflow.
Wipe gaskets clean, ensure they seal fully, and make sure tall containers aren’t blocking vents. Poor airflow traps humidity and confuses the sensor.
If HS clears and stays gone, you’re done. If it returns, continue below.
The Fault: Humidity Sensor Malfunction (HS)
Cause: The sensor is wet, dirty, misreading, unplugged, damaged, or failed. In some models the sensor sits near a fresh-food vent, a produce zone, or integrated with a small housing behind an air grille. Excess moisture, spilled liquids, or a strained connector are common triggers.
Typical Symptoms (you may see one or several):
- HS on the display; temps drift or stabilize slowly
- Sweating on shelves/liner, or damp drawers
- More frequent fan/compressor run time and noise
- Produce spoils faster, leafy greens wilt
DIY Fixes (step-by-step)
1) Reset & Observe (10 minutes)
- Unplug 5–10 minutes → reconnect.
- Wait for the compressor/fans to start; close doors for 30–60 minutes.
- If HS returns quickly, move on.
2) Dry & Clean the Sensor Area (15–20 minutes)
- Power off.
- Locate the sensor housing in the fresh-food compartment (often near a vent or crisper area).
- Gently wipe away condensation or sticky residue with a soft, slightly damp cloth; then dry thoroughly.
- Check for nearby spills that could wick moisture into the housing.
Tip: If you recently deep-cleaned the interior, trapped moisture inside covers can linger. Leave doors open 10–15 minutes (unit off) to air-dry before reassembly.
3) Reseat the Connector (10–15 minutes)
- Power off.
- Remove the small trim/cover for the sensor (usually a couple of clips or screws).
- Unplug and re-seat the sensor connector—look for bent pins, corrosion, or a loose fit.
- Reassemble, restore power, and recheck for HS.
4) Replace the Humidity Sensor (30–45 minutes)
If HS returns after cleaning and reseating, the sensor is likely out of spec.
- Order an OEM humidity sensor for your exact Jenn-Air model and serial (naming varies: “RH sensor,” “humidity sensor,” or part integrated with the drawer/air grille).
- Power off, swap the module, reassemble, and perform a reset.
- If HS persists even with a new sensor, the issue may be in the wiring harness or main control—that’s a pro visit.
Keep HS From Coming Back (Preventive Care)
Keep moisture under control
- Let hot leftovers cool before loading.
- Use the range hood when boiling or steaming; avoid parking steaming pots near the open fridge door.
- Limit long door-open times during meal prep.
Protect airflow
- Don’t block interior vents with tall containers or produce bags.
- Leave space around the humidity-controlled drawers so air can circulate.
Seal the box
- Clean door gaskets monthly with warm, soapy water; dry well.
- Replace torn or flattened gaskets—leaks pull humid room air in constantly.
Interior hygiene
- Wipe spills promptly, especially sweet liquids that attract moisture.
- Every 3–6 months, remove drawers/shelves and clean/dry around the sensor housing.
System health
- Vacuum condenser coils every 6–12 months to keep run times and cabinet heat down.
- After power outages or surges, do a controlled reset (unplug 5–10 minutes) instead of rapid on-off cycling.
Quick Reference (at a glance)
- Code: HS
- Meaning: Humidity sensor fault (wet, dirty, disconnected, or failed)
- Try first: 5–10 min power reset → dry sensor area → reseat connector
- Fix likely: Replace humidity sensor with OEM part matched to model/serial
- Prevent: Control steam, protect airflow, maintain gaskets, clean spills, coil maintenance
When to Call a Technician
- HS reappears after cleaning, drying, and reseating connectors
- You notice damaged wiring, cracked housings, or corrosion
- Temperatures won’t stabilize, or food safety is at risk
- You prefer a warranty-safe repair with diagnostics and OEM parts