
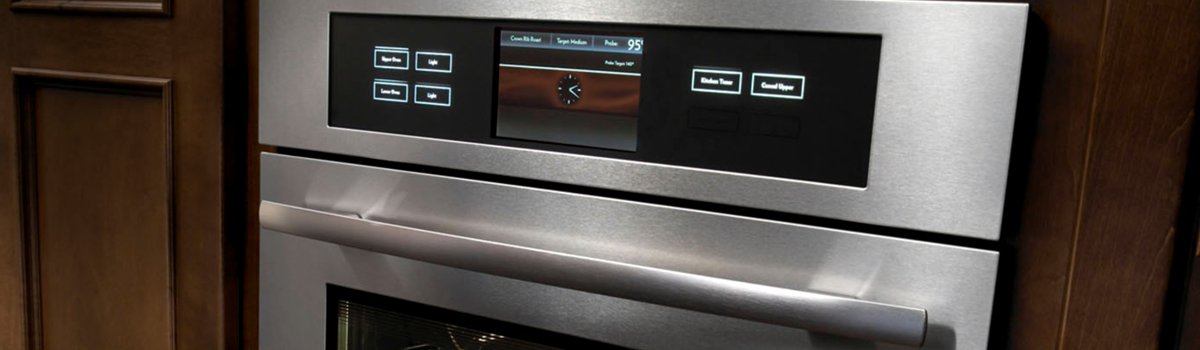
When a Jenn-Air oven or stove flashes Error Code GB, it’s pointing to a wiring harness fault—an issue somewhere in the web of wires and connectors that link the control, sensors, fans, igniters/elements, and safety devices. Think of the harness as the appliance’s nervous system: if a connector loosens, a wire overheats, or insulation gets pinched, signals and power don’t flow right. The result can be failed preheats, random shutdowns, or a display that throws GB and refuses to start.
What “GB” Usually Looks Like (Symptoms)
You might notice one or more of these before or alongside the code:
- Oven won’t start a bake or broil cycle, or stops mid-cycle.
- Preheat stalls or takes much longer than normal.
- Buttons respond, but nothing heats; sometimes a faint electrical smell.
- Intermittent beeps or GB reappearing after a power reset.
Most of the time, the core problem is simple: a loose/burned connector or damaged wire in the harness.
What Exactly Is the Fault?
In plain English: the control board expects “all clear” signals and steady power along specific wires. Error Code GB means the control is detecting an open, short, or unstable connection on one of those paths—often near high-heat zones (rear of the cavity, near the broil element), high-current parts (bake/broil elements), or moving assemblies (door-lock motor on self-clean models).
A few common culprits:
- A spade connector worked loose from vibration or heat cycling.
- Insulation scorched where a wire brushed a hot surface.
- Harness pinched behind the unit or under a mounting bracket.
- Oxidation on a multi-pin plug at the control board.
First Things First: Safety and a Quick Reset
Before you touch anything, cut power at the breaker (240V can be lethal). Give the oven a full 5–10 minutes powered off. A reset won’t fix a real wiring fault, but it can clear a false alarm caused by a momentary voltage dip. If GB returns immediately after restoring power, move on to inspection.
DIY Troubleshooting (Step by Step)
You don’t need to tear the oven apart. Start small and work logically.
Pull the range forward carefully
Slide it out just enough to access the rear panel. Protect floors. Don’t tug the power cord.
Visual check: rear panel & cord
With power off, remove the back cover. Look for browned connectors, melted insulation, or a wire rubbing metal. Confirm the strain-relief on the power cord is snug and not cutting into conductors.
Touch-and-feel check of connectors
One at a time, gently reseat push-on spade terminals and multi-pin plugs on reachable components (elements, fans, thermal cutouts) and along the main harness. You’re looking for a snug fit—no wobbly terminals.
Control board plug reseat
If you can access the control area (top/rear), reseat the harness plugs going into the board. Photograph their positions first so nothing gets swapped.
Door-lock and sensor leads
On models with self-clean, inspect the door-lock motor plug and linkage area; on all models, check the oven temperature sensor connector—loose or corroded sensor leads can also trip communication/power faults perceived as GB.
Restore power and test
Reassemble covers, turn the breaker back on, and start a low-temp Bake (e.g., 300°F). If GB doesn’t return, step up to Broil for a minute or two—broil is a high-load test that can reveal weak connections quickly.
If GB reappears—or you see/smell heat damage—stop and schedule service. Continuing to run on a compromised harness can damage the control board.
When DIY Isn’t Enough
Some checks need tools and experience:
- Continuity testing across suspect harness legs to find opens/shorts.
- Voltage and load checks at the control board under heat.
- Replacement of a damaged sub-harness or main harness with the correct part for your exact model.
If your inspection shows browned connectors or brittle wires, or the code returns after reseating, it’s time for a pro.
Practical Fixes You Can Do (Without Going Overboard)
- Reseat any connector that wasn’t snug.
- Add a small dielectric contact treatment (sparingly) if corrosion is visible, then reseat.
- Reroute a wire that was touching a hot shield—keep it in the original clip/guide path.
- Replace any obviously damaged spade terminal if you’re confident with crimping; otherwise leave it to a tech to ensure gauge and temperature rating are correct.
Preventing Error Code GB Going Forward
You don’t have to baby the oven—just mind a few habits that protect the harness:
- Avoid pushing the range too far back. Ensure the power cord and harness aren’t pinched by the wall or cabinetry.
- Mind self-clean cycles. Use them sparingly; they run very hot and can accelerate connector fatigue.
- Keep ventilation clear. Heat buildup behind and above the range stresses wiring and controls.
- After moves or deep cleans, recheck alignment. If you pulled the unit out, verify it’s not sitting on the cord and that rear panels are fully secured.