
When a Jenn-Air oven flashes F0, it’s usually pointing at a Probe Connection Error—the circuit that reads your temperature probe isn’t seeing a clean, stable signal. Because the control can’t trust the probe reading, it will pause or block cooking to protect the food (and the electronics). The good news: many F0 cases are easy to diagnose at home with a few careful checks.
What this fault actually means
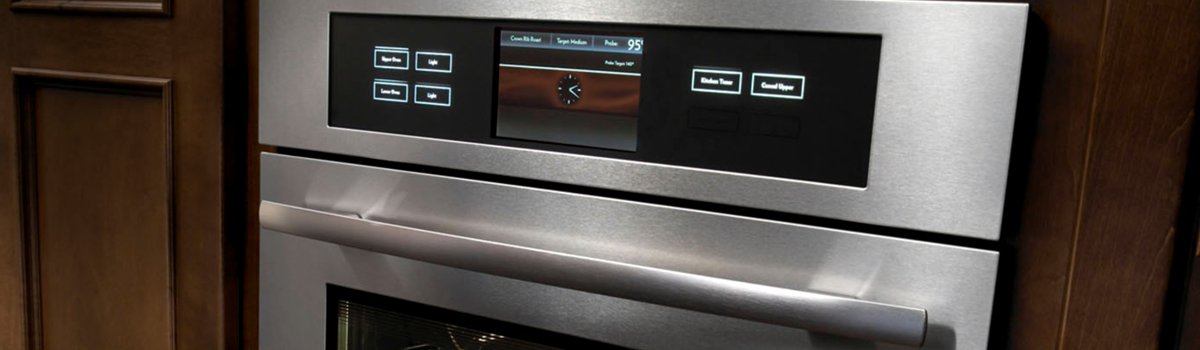
Modern Jenn-Air ranges use a temperature probe jack (inside the cavity) and a probe cable to read the internal temperature of roasts with high accuracy. F0 appears when the control detects an open, short, or unstable connection in that path—at the probe tip, the plug/jack, the wiring harness, or the control input.
You may notice the code pops up the moment you select a probe-assisted mode, or partway through a cook when you move the pan and the plug wiggles. Sometimes the oven won’t let you start at all until the error clears.
How it shows up (common symptoms)
- The oven beeps and shows F0 right after you insert the probe or choose a probe mode.
- Cook cycles cancel themselves; temperature stops climbing or never starts.
- Jiggling the probe plug makes the code flicker on/off.
- The oven works normally without the probe inserted, but fails as soon as you use it.
Likely causes (in plain English)
- Dirty or oxidized probe jack inside the oven wall.
- Worn probe plug or a kinked cable from years of wrapping it too tightly.
- Food residue/grease on the plug or inside the jack causing poor contact.
- Stretched/loose contacts in the jack from heavy pans pulling on the cable.
- Less common: damaged harness behind the cavity or a failing control board input.
Quick safety note
Always turn the oven off and let it cool before working near the probe jack. If you need to touch wiring behind panels, unplug the range or switch off the breaker first.
Fast checks you can do in minutes
Start with simple, non-invasive steps. Many F0 cases clear here.
Inspect the probe tip and plug.
Wipe the metal surfaces with a soft cloth and a bit of isopropyl alcohol. Make sure the plug is round, smooth, and not bent or nicked.
Clean the jack—gently.
With the oven cool, use a cotton swab lightly moistened with alcohol to clean the jack opening. Let it dry completely.
Seat the plug firmly.
Insert the probe plug until it clicks/feels fully home. A half-seated plug is the #1 reason F0 returns mid-cook.
Try a no-food test.
Select a probe mode, set a modest temp (e.g., 140°F), and watch the display. If F0 stays gone when the probe is still, but returns when you nudge the cable, the plug/jack is loose or worn.
DIY fixes (step-by-step, from easiest to advanced)
A) Replace the probe (easy, tool-free).
If the cable is stiff, kinked, or the plug looks tired, swap in a new OEM probe for your exact model. It’s the cheapest, fastest variable to eliminate.
B) Re-tension the jack contacts (light DIY).
Sometimes the female contacts in the jack spread slightly. With the oven unplugged and fully cool, you can use a non-metal pick or a wooden toothpick to very gently nudge the contacts closer together. Don’t force it—if you’re unsure, skip this step.
C) Check the jack mounting (light DIY).
Make sure the jack is snug to the wall and not wobbling. A loose jack can interrupt the signal when the cable moves. Tighten mounting screws if accessible and safe to do so.
D) Harness continuity & control input (advanced).
If a new probe and clean, tight jack still trigger F0, the wiring to the control—or the control input itself—needs testing with a multimeter. This is technician territory: they’ll measure resistance from the jack to the board and confirm the control reads a stable value as the probe warms.
When to call a pro
- F0 appears without a probe inserted (possible control fault).
- The code returns immediately with a brand-new OEM probe.
- Jack contacts are obviously damaged, melted, or loose behind the panel.
- You don’t have a meter (or don’t want to pull panels) to test the harness.
A qualified technician can confirm the failure point quickly and prevent repeated board damage from intermittent shorts.
Smart habits to prevent F0 in the future
Keep this circuit healthy and you’ll get years of reliable probe cooking.
Clean after every probe cook. Wipe the plug and jack once they’re cool. Grease films cause micro-arcing and unstable readings.
Avoid cable stress. Route the probe cable so it doesn’t get pinched by the door or dragged by heavy cookware.
Don’t soak the plug. Wash the probe shaft, but avoid dunking the plug/cable end; moisture inside the plug can short the contacts.
Store it straight. Coil the cable in a loose loop; tight wraps kink conductors and loosen the plug.
Use the correct probe mode. Always select a probe-enabled program before inserting the probe fully so the control expects the connection.
Short troubleshooting flow (bookmark this)
- See F0 → cool oven → clean plug & jack → seat firmly → try no-food test.
- F0 gone? Cook normally and recheck after your next probe use.
- F0 returns with movement? Replace the probe → retest.
- Still there? Call a pro to inspect the jack, harness, and control input.
FAQ (quick answers you’ll likely search)
Can I keep cooking without the probe?
Yes—standard bake/roast usually works fine. But any probe-assisted feature will stay locked out until the fault is cleared.
Will a hard reset clear F0 for good?
A breaker reset can clear a temporary glitch, but if the connection is loose or corroded, F0 will come back. Fix the root cause (probe/jack).
Do I have to use a Jenn-Air probe?
Use OEM for correct resistance and plug geometry. Off-spec probes may read wrong or re-trigger F0.
Want it handled end-to-end with OEM parts and a clean install? Our factory-certified range technicians can diagnose F0 quickly and keep your oven’s precision features working like new.